Get the Most out of Your Trail Camera
Maximize the use of your trail cam while you're out on the hunt.
June 14, 2024


BIG SAVINGS
+EVERYTHING SHIPS FREE
Learn More

A trail camera is a valuable tool for those that hunt. By providing key information, including the presence of game, size, and travel movement, the odds can be put in your favor for a more successful hunt. Setting your camera up correctly will lessen the chances for missed or sub-par shots. Follow these handy tips the next time you head out into the field.
The direction your camera faces when mounted will have a direct correlation to the quality of images. Always point the unit north or south. If facing east or west, the rising and setting of the sun can produce false triggers and overexposed images.
Mounting your camera four to five feet high is a good rule of thumb to follow. Your camera should also be angled slightly down, which can easily be achieved by wedging a small branch behind the back of the unit.
Keep in mind this is just a suggestion. Depending on the size of the animal you are targeting, raising or lowering the height is recommended.
Setting your camera to the highest sensitivity setting will result in better image or video captures. However, if the area you are set up in is comprised of long vegetation or is heavily treed, a lower sensitivity setting will be beneficial in order to negate the chances of false triggering.
Keep the setting high if faced with wide open and uncluttered areas.
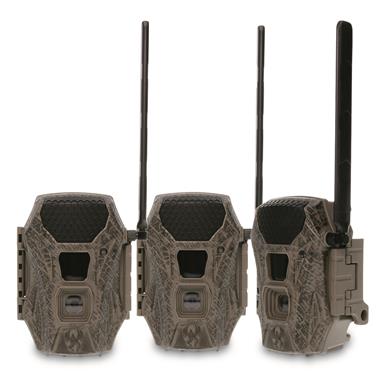
Utilizing a trail camera that has the quickest trigger speed, the highest MP's, while also having the greatest effective range will produce the best images and videos. If in the market for a new unit, keep these two options in mind. As with most hunting aids, you do often get what you pay for.
Always angle your camera at a 45-degree angle to a trail, if not hunting over bait, a scrape, or rub. Doing so will increase the trigger time exponentially, allowing you a greater chance to capture the complete animal in the frame.
A whitetail deer's sense of smell can be anywhere from 500 to 1,000 times more acute than a human's. Best practice when setting up your trail camera is to wear gloves to lessen the chance of transferring scent. At the least, use a scent neutralizing spray or wipes before walking away from your unit. Always be careful not to get any spray on the lens.
Have you ever retrieved your camera only to discover that your memory card is maxed out? Unfortunately, It has happened to us all.
Go with the biggest memory card your trail camera will accept. For my Stealth Cam unit, that is 32GB. A reputable and brand-name card is also your best bet. Although no-name cards can be attractive due to a lower price point, the likelihood of card errors and sub-par images and videos will be more prevalent.
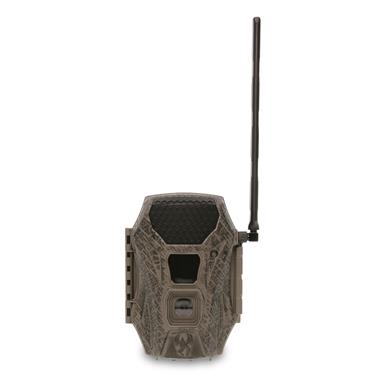
Typical flashes on cameras produce a white light that can startle animals. Standard infrared cameras use a burst of red light to illuminate subjects at night. A black flash, or no glow flash, uses a low glow or no glow flash, which is the least detectable.
In my experience, coyote, wolf, and red fox are very aware and skittish when using a standard infrared camera.
The majority of my trail cameras have a built-in viewing screen. The advantages to this is the ability to check images or videos while out in the field, but also for reviewing a test shot after setting up your cam.
A test shot will ensure that height placement is correct while also giving you a general idea of what is contained in the coverage area. If your unit doesn't have a screen, simply place your cell phone on top of the camera and take an image.
Game cameras are essential to having a successful hunting season. Give these tips a go the next time you hit the woods and reap the rewards of some picture-perfect captures.